Hey y’all, I managed to hack together a printer from scratch and I’m struggling to get it to print well. It’s a CoreXY system that’s being controlled by a Octopus 1.1. Dual z screws, the works.
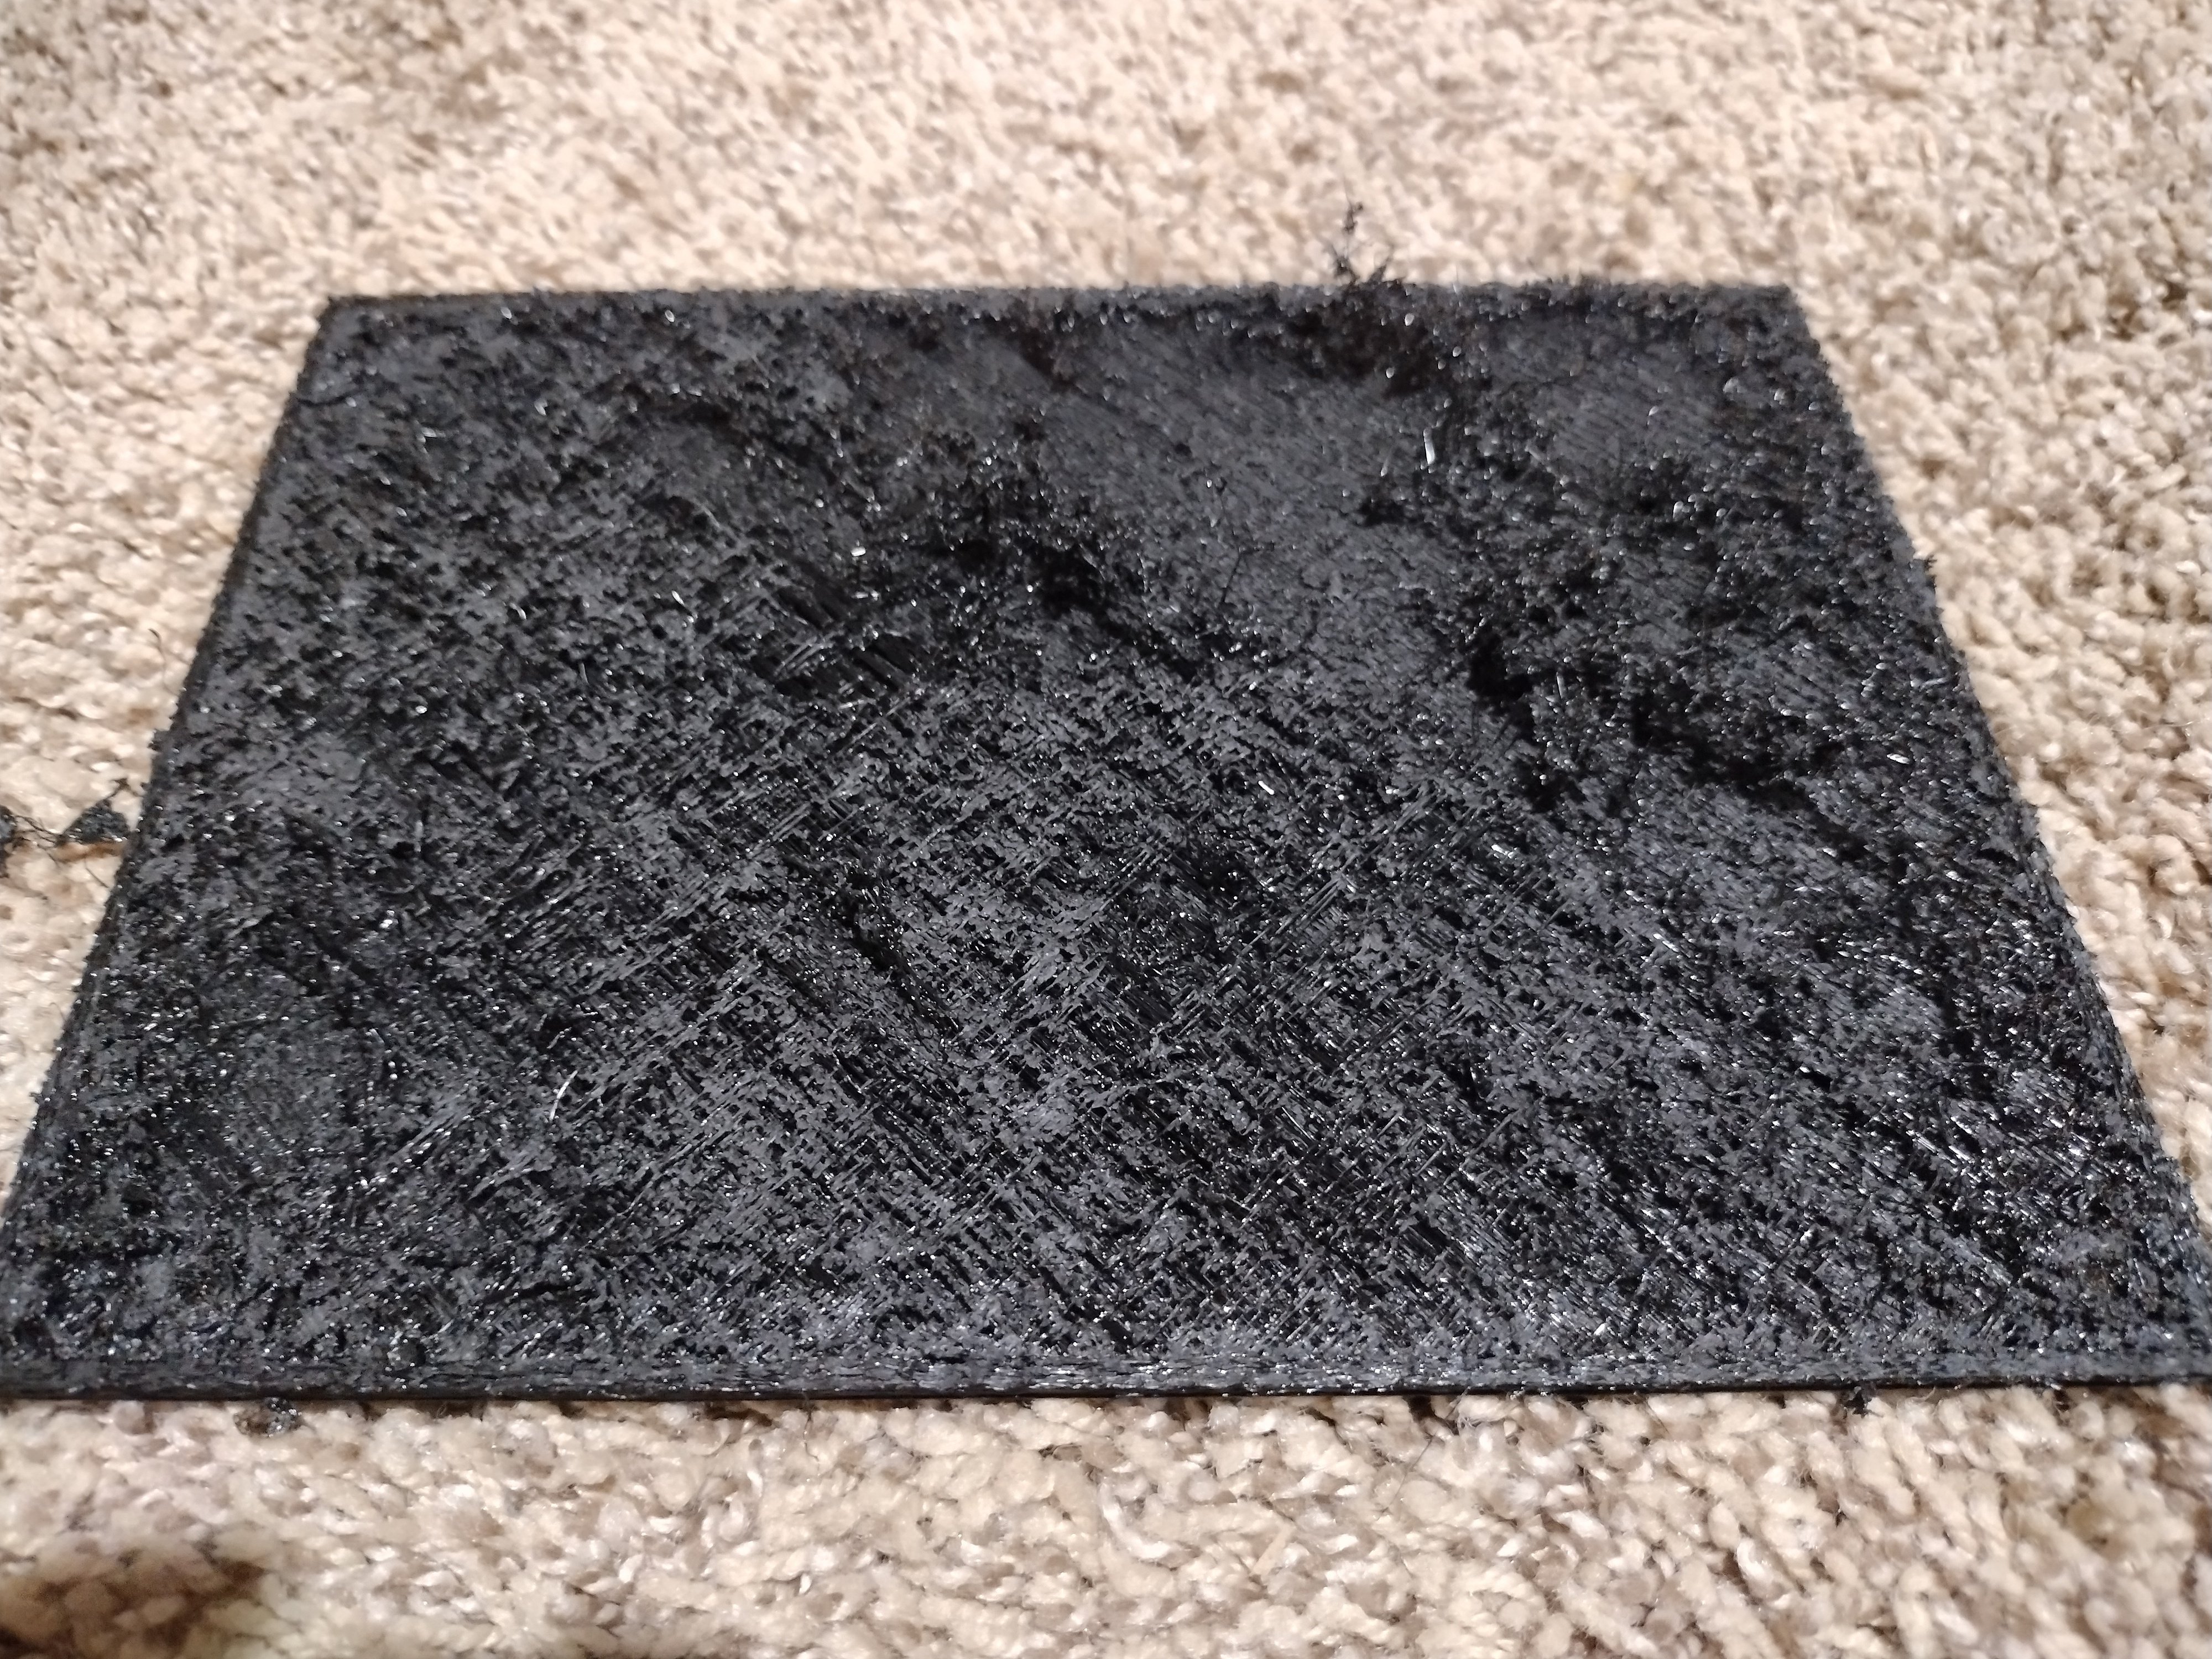
I have it moving under it’s own power and all. It’s able to actually print, but the results are atrocious.
I’m just trying to diagnose what’s wrong here.
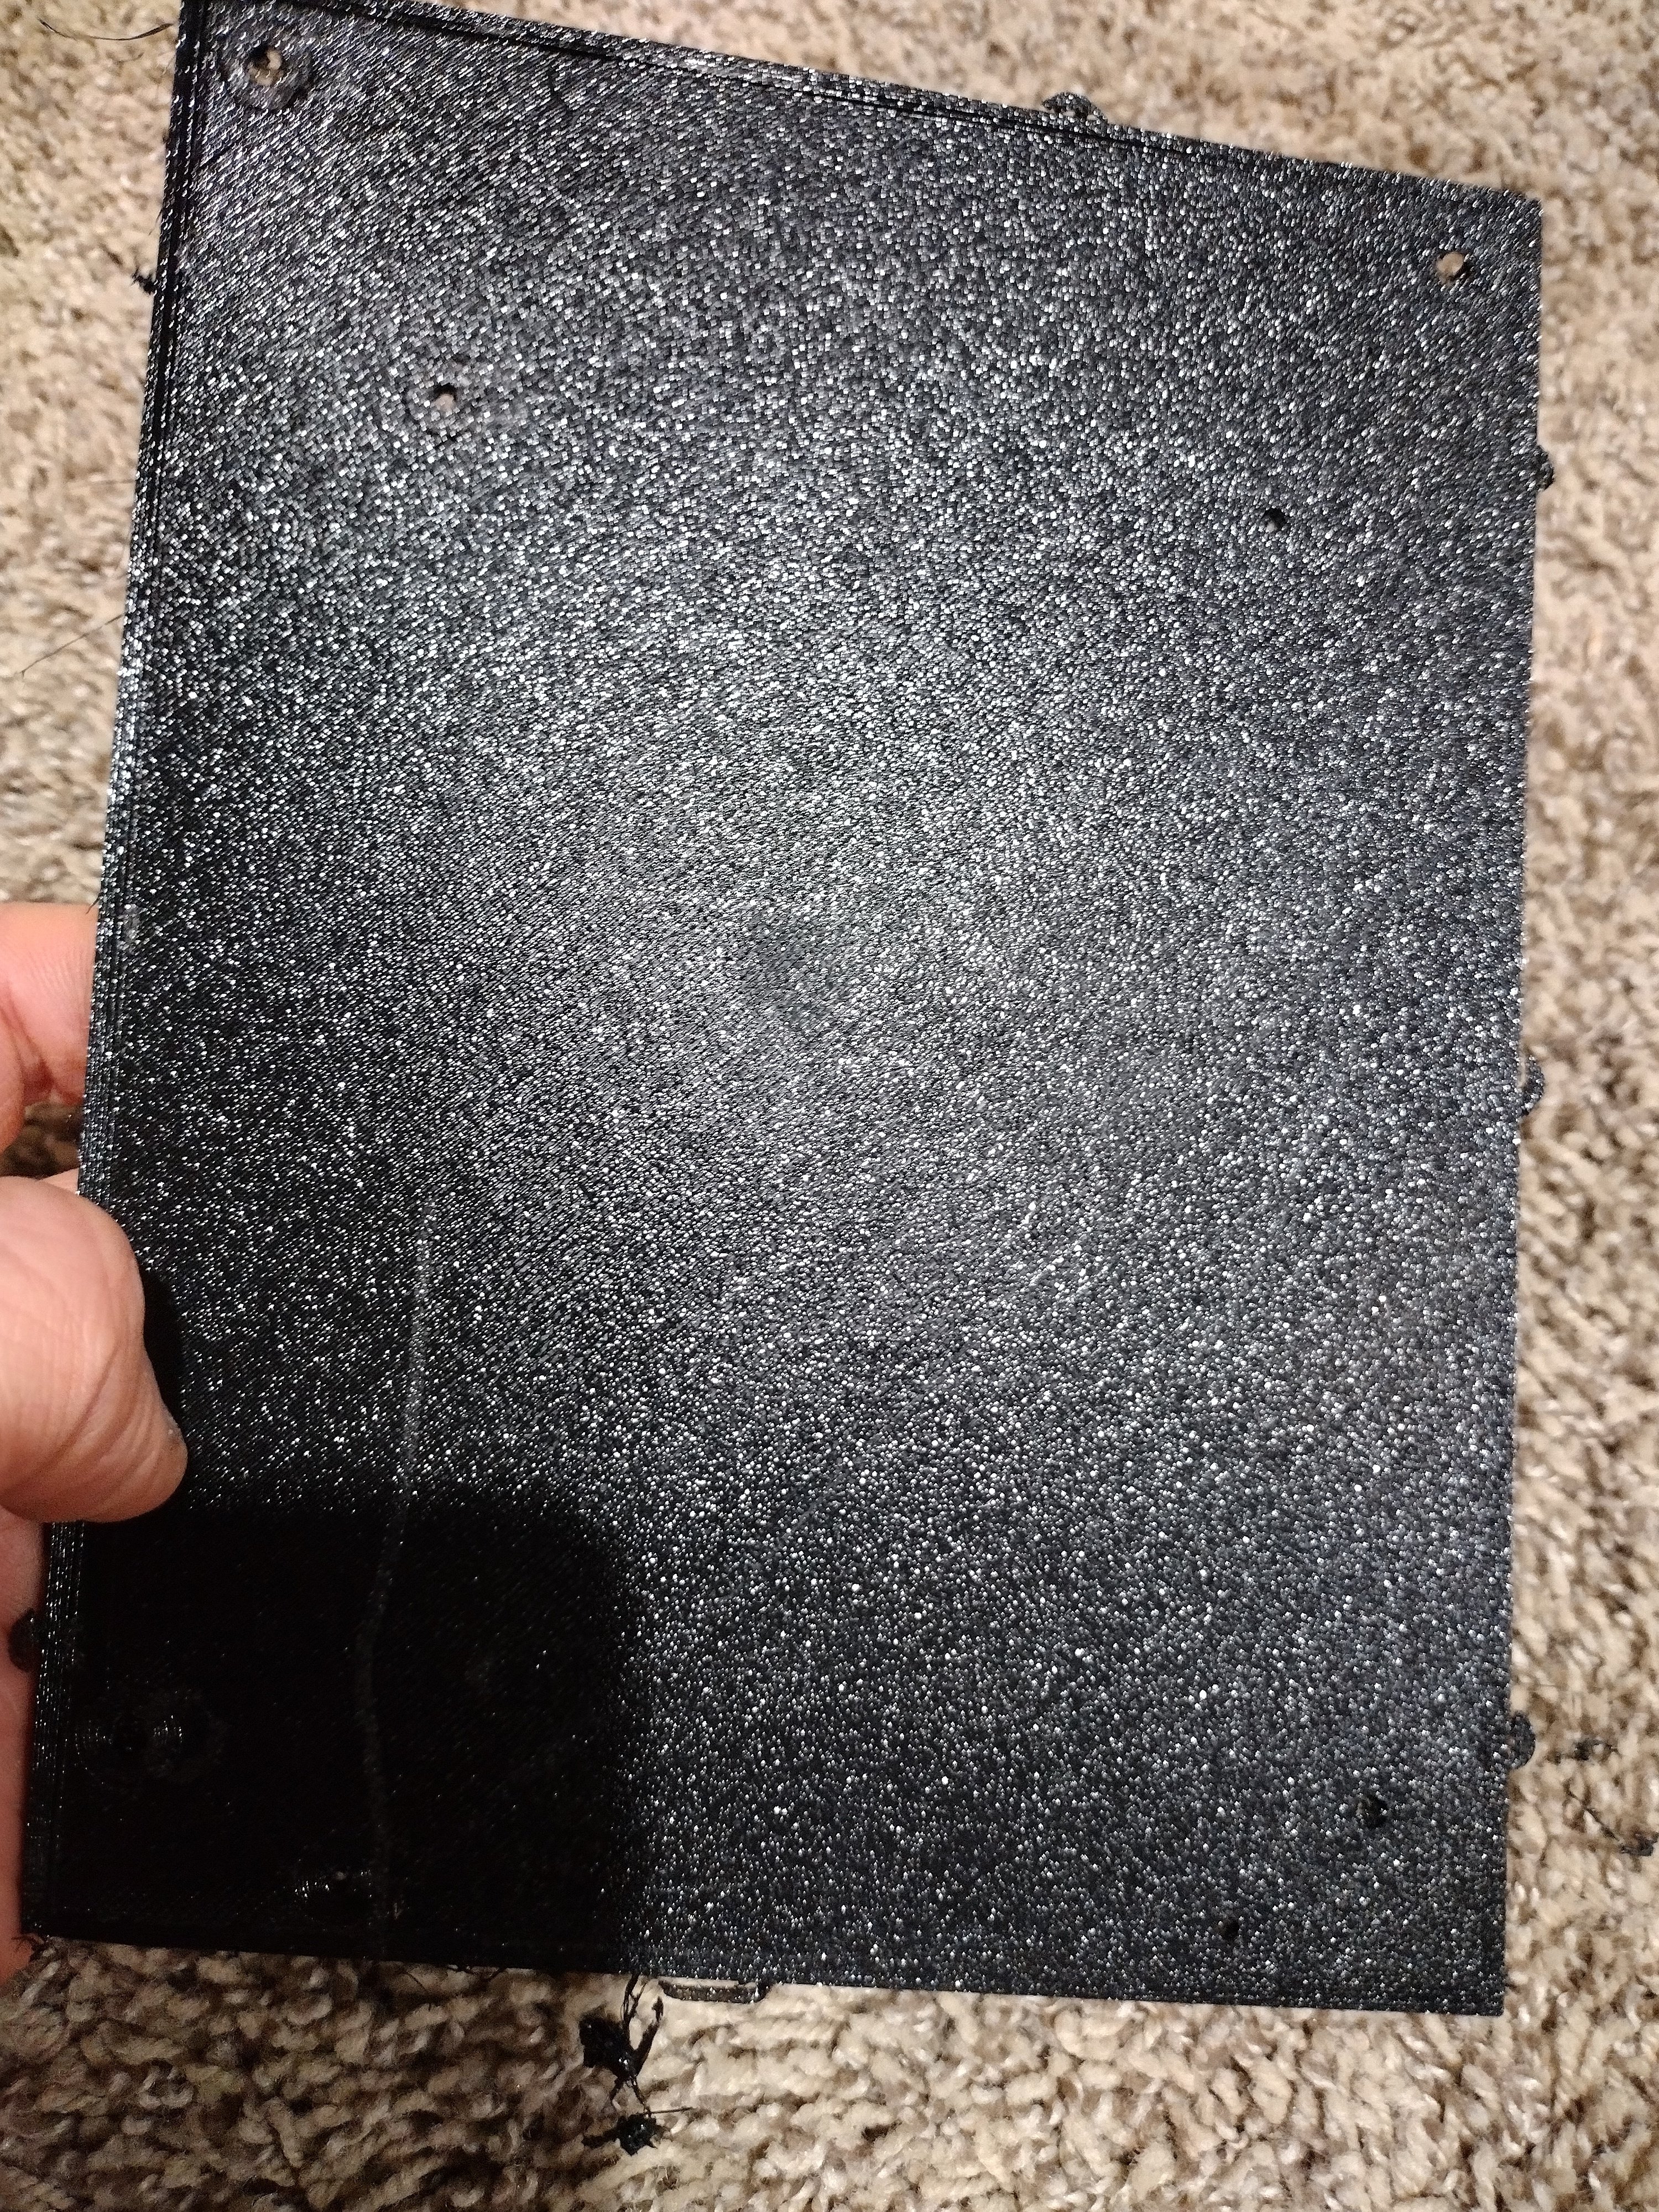
The bottom/first layer actually looks kinda good. It’s just completely shredding subsequent layers.
Have you done a full calibration? If not, start and work the process. Take your time with it, do each step multiple times. Being a home brew printer it’s going to be very beneficial to get OCD about things. Make sure the frame is square and rigid, the axis are all square to each other, and nothing shifts.
Because I hate when people ask questions and never go back to update their original post when they solve the issue, I’m gonna post an update here and now.
The fix was actually surprising but simple. I ended up moving the second Z axis lead screw carriage mount a bit further towards the motor. That is, the piece that supports the build plate, where it connects to the leadscrew.
Further diagnostics ended up showing me that it was binding, and one of the problems I had later on was that it was binding but only when going up. So I ended up having prints that got progressively more and more stretched out along the z axis.
Moving it to be further in line and loosening a few mount screws to allow the nut to come back to vertical got me to where I needed to be. Hope this helps!
I realize I’m reviving a super old post here, but I actually did end up figuring out what it was. I posted a little writeup in here if you’re at all curious. You were actually kinda close.
Have you verified that you can extrude filament with the extruder stationary and a decent height above your bed? While you’re at it, you might as well do e-steps.
You are not logged in. However you can subscribe from another Fediverse account, for example Lemmy or Mastodon. To do this, paste the following into the search field of your instance: !3dprinting@lemmy.world
3DPrinting is a place where makers of all skill levels and walks of life can learn about and discuss 3D printing and development of 3D printed parts and devices.
The r/functionalprint community is now located at:
!functionalprint@kbin.social
or !functionalprint@fedia.io
There are CAD communities available at:
!cad@lemmy.world or !freecad@lemmy.ml
Rules
No bigotry - including racism, sexism, ableism, homophobia, transphobia, or xenophobia. Code of Conduct.
Be respectful, especially when disagreeing. Everyone should feel welcome here.
No porn (NSFW prints are acceptable but must be marked NSFW)
No Ads / Spamming / Guerrilla Marketing
Do not create links to reddit
If you see an issue please flag it
No guns
No injury gore posts
If you need an easy way to host pictures, https://catbox.moe may be an option. Be ethical about what you post and donate if you are able or use this a lot. It is just an individual hosting content, not a company. The image embedding syntax for Lemmy is 


Have you done a full calibration? If not, start and work the process. Take your time with it, do each step multiple times. Being a home brew printer it’s going to be very beneficial to get OCD about things. Make sure the frame is square and rigid, the axis are all square to each other, and nothing shifts.
teaching tech has a good guide on it,
Because I hate when people ask questions and never go back to update their original post when they solve the issue, I’m gonna post an update here and now.
The fix was actually surprising but simple. I ended up moving the second Z axis lead screw carriage mount a bit further towards the motor. That is, the piece that supports the build plate, where it connects to the leadscrew.
Further diagnostics ended up showing me that it was binding, and one of the problems I had later on was that it was binding but only when going up. So I ended up having prints that got progressively more and more stretched out along the z axis.
Moving it to be further in line and loosening a few mount screws to allow the nut to come back to vertical got me to where I needed to be. Hope this helps!
You z-step might be off. I.e. z is moving too far each layer.
I realize I’m reviving a super old post here, but I actually did end up figuring out what it was. I posted a little writeup in here if you’re at all curious. You were actually kinda close.
I think you might be onto something but the other direction. I think it’s not moving quite enough per layer.
You could try moving Z to +100mm and just measure with a ruler to make sure it’s at least in the correct range.
I think I’ll give that a swing. Thanks for your input!
Have you verified that you can extrude filament with the extruder stationary and a decent height above your bed? While you’re at it, you might as well do e-steps.
Yep. I calibrated all the e-steps too. Not just the extruder, but the the movement e-steps as well.